Fluent Forms is a versatile and user-friendly form builder for WordPress, offering a wide range of features to create dynamic and interactive forms. One common requirement for forms is to limit the number of characters a user can input in a text area field. While Fluent Forms doesn’t provide a built-in option for this, you can easily achieve it using custom JavaScript. In this blog, I’ll walk you through the steps to implement a max text length limit for a text area field in Fluent Forms.
Why Limit Text Length in a Text Area Field?
Limiting text length in a text area field can be useful in various scenarios, such as:
- Enforcing character limits for social media posts or SMS messages.
- Ensuring concise user feedback or comments.
- Preventing database overflow by restricting input size.
By implementing a character limit, you can guide users to provide input within the desired constraints.
Enjoying the content? Subscribe now to get more updates
Steps to Implement Max Text Length in Fluent Forms Text Area Field
Step 1: Add a Custom Class to the Text Area Field
- Open the Form Editor in Fluent Forms.
- Locate the Text Area field in which you want to add the character limit.
- In the Element Class section of the field settings, add the class ‘
haslimit‘ as shown in the below screenshot. This class will help us target the specific text area field using JavaScript.

Step 2: Add Custom JavaScript
- Navigate to Settings & Integration > Custom CSS & JS in Fluent Forms.
- Paste the following JavaScript code into the Custom JS section:

Step 3: Customize the Character Limit
In the JavaScript code above, the variable textAreaCharsLimit is set to 10. This means the text area field will only allow 10 characters. To change the limit, simply replace 10 with your desired value. For example, if you want to allow 100 characters, update the line as follows:
// Change this value to your desired character limit.
let textAreaCharsLimit = 100;
How It Works
- Targeting the Text Area Field: The JavaScript code uses the class
haslimitto identify the specific text area field. - Creating a Character Counter: A new
divelement is created to display the remaining characters. This element is inserted right after the text area field. - Enforcing the Character Limit: The
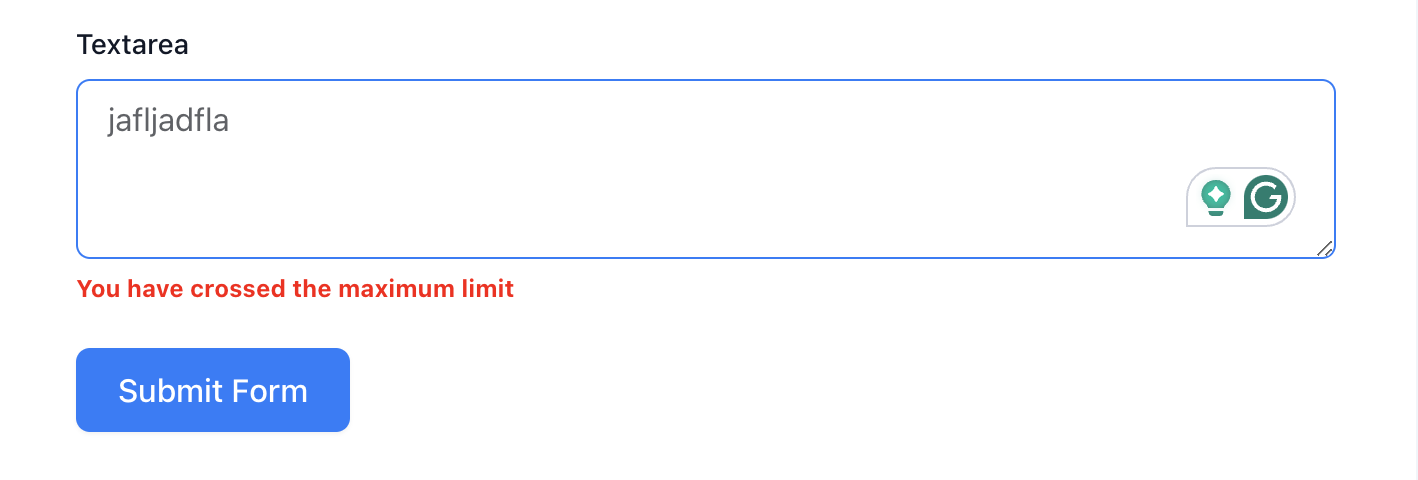
oninputevent listener monitors user input in real-time. If the user exceeds the character limit, the text is truncated, and a warning message is displayed in red.
Styling the Character Counter
You can style the character counter using custom CSS. For example, to make the counter more visually appealing, add the following CSS to the Custom CSS section in Fluent Forms:
//Adjust the CSS based on your requirement
.showlimit {
    font-size: 12px;
    font-weight: bold;
    margin-top: 5px;
}
Below is an example of a Fluent Form with a text area field that has a character limit applied:
Conclusion
By following these steps, you can easily implement a max text length limit for text area fields in Fluent Forms. This approach is highly customizable and can be adapted to suit your specific requirements. Whether you’re building a feedback form, a comment section, or any other type of form, this technique ensures that users stay within the defined character limits.
Feel free to experiment with the code and customize it further to match your form’s design and functionality. Happy form building!
Pro Tip: If you need to apply this functionality to multiple text area fields, consider using a loop to target all fields with the haslimit class. This will save you time and effort when working with complex forms.
Let me know in the comments if you have any questions or need further assistance!